4 E-Ink projects you can build this weekend with a Raspberry Pi and $30 (or less)
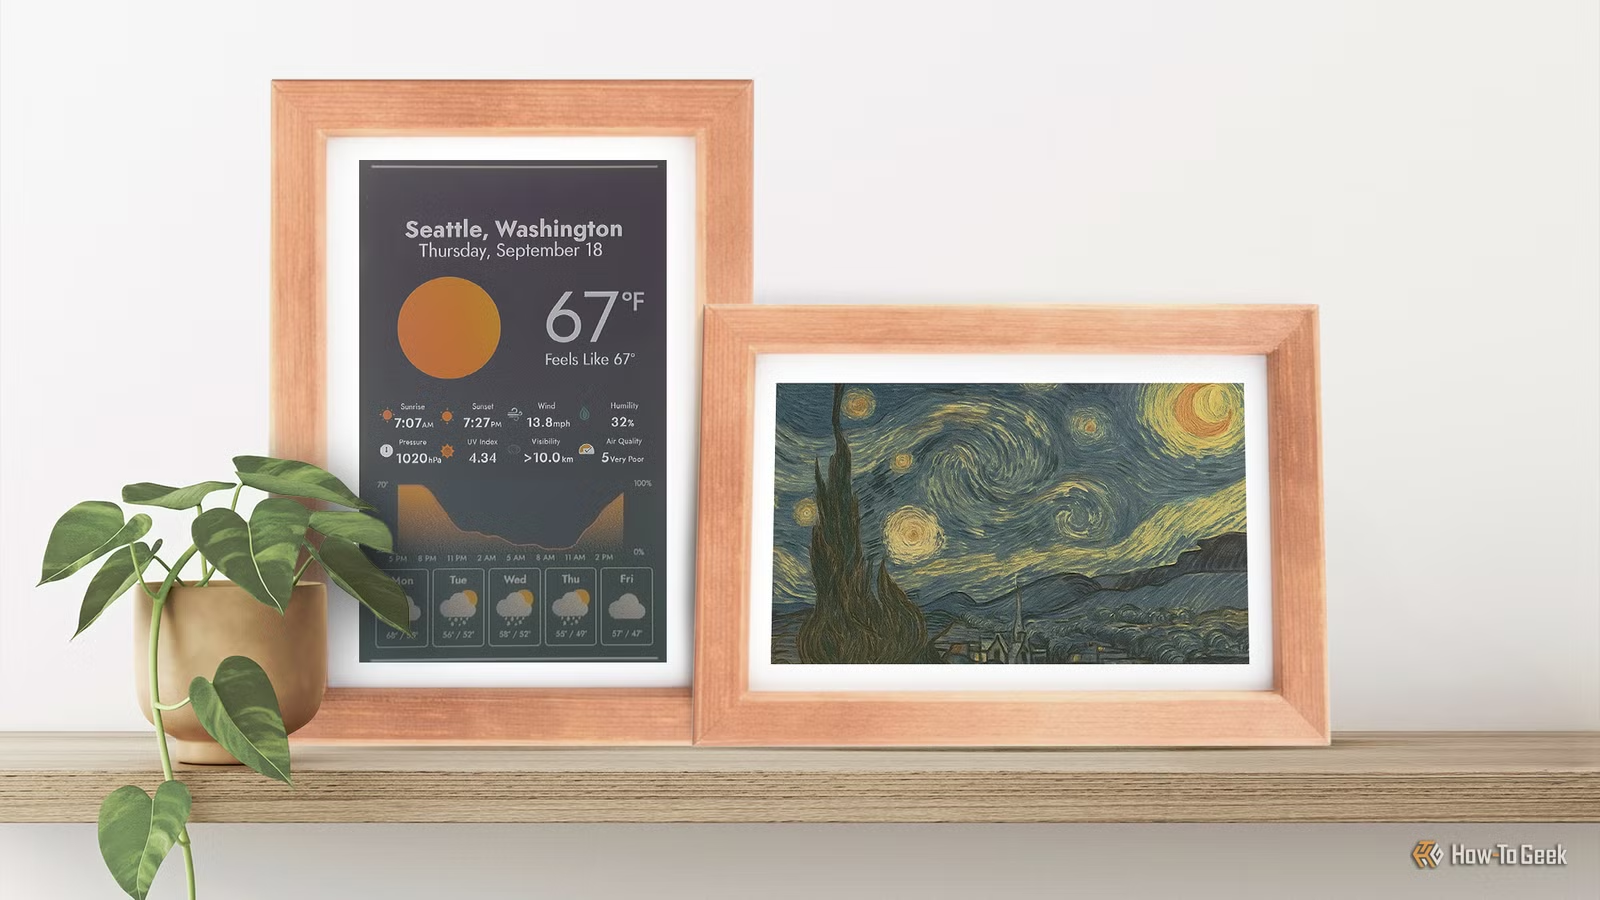
If you have a Raspberry Pi and E-Ink display sitting unused, it’s time to pull them out of the drawer. There is so much you can do with just those two pieces of tech, but I boiled it down to four projects that you can build this weekend for fun.
Before we dive into the projects, I do want to say that the $30 or less portion of the title is going to relate only to accessories you need in addition to already having a Raspberry Pi and E-Ink display.
-
- Brand
-
Raspberry Pi
- CPU
-
Cortex-A72 (ARM v8)
- Memory
-
2 GB
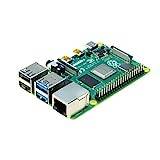
With the Raspberry Pi 4 Model B, you can create all kinds of fun projects, and upgrade gadgets around your home. Alternatively, install a full desktop OS and use it like a regular computer.

Laundry status display that shows washer/dryer runtime from smart plugs or sensors
How long has that load of laundry been running?

My laundry room is on the other side of the house, so I can’t hear it running from my office. My washer and dryer are also not smart, which means there’s no native way to let them send me a notification.
Thankfully, it’s actually easy to rig up notifications for your laundry using Home Assistant, a Raspberry Pi, and both an energy-monitoring smart plug and vibration sensor. For this full project, you’ll actually need two Raspberry Pis, though the second could be swapped for a Pi Zero 2 W, or even an ESP32.
Start by hooking up your E-Ink display to your Pi and getting it to show a Home Assistant dashboard. This is a project in and of itself, but it’s not all that difficult. Then, head to the laundry room with the smart plug and vibration sensor.
Plug your washer into the smart plug and attach the vibration sensor to the dryer. The reason I don’t recommend a smart plug for the dryer is because most dryers are 220V and those types of smart plugs can get quite expensive. You really just want to know when it stops shaking.
From there, you’ll program Home Assistant to say that the washer is running when current is flowing through the plug, and the dryer is running as long as the vibration sensor has been shaking for more than 30 seconds. The washer is no longer running when current stops flowing through the plug, and the dryer is no longer running if vibration stops for more than 30 seconds.
All you have to do is program Home Assistant with a custom dashboard that shows these two devices and displays that on the E-Ink screen. Now, it’s easy to see from your desk if the washer or dryer is running or not. You could even program a full-color E-Ink screen to show red when it’s running and green when it has stopped.

- Brand
-
meross
- Connectivity
-
Matter
- Integrations
-
HomeKit, Alexa, Assistant, Home Assistant, SmartThings
- Schedules
-
Yes
- Current Rating
-
15A/1800W
- Price
-
$50
This 4-pack of meross energy-monitoring smart plugs is perfect for your smart home. With Matter connectivity headlining the features list, you’ll get fully private LAN control with this smart plug. You’ll also get connectivity with HomeKit, Alexa, Google Home, SmartThings, and even Home Assistant. Plus, add to that the energy monitoring functions and you’ll know exactly how much it’s costing you to run whatever you plug into it.
3D printer status display
What’s printing, and when should it be done?

This is another project that you can easily achieve with Home Assistant, so long as you’re willing to put your 3D printers into LAN-only mode. Home Assistant offers plugins for most 3D printer brands through either official device add-ons or HACS.
Just like the above project, you can build a custom dashboard to showcase what your 3D printers are doing at any given moment. Unlike the washer/dryer project, this project requires no additional hardware to be purchased.
It’s actually quite simple, and it can be really fun depending on how far down the rabbit hole you fall. The display here could be as simple as showing you what printers are or are not running, and as complex as displaying the completion time, file name, and 3MF/STL render so you can see what’s printing.
Plex or Jellyfin “now playing” display
Perfect for a media room
If you have a Raspberry Pi Zero 2 W, this is the perfect project to put outside your media room or on your entertainment center.
What’s great is there are official Home Assistant plugins for both Plex and Jellyfin. Yes, Home Assistant again. When it comes to E-Ink projects, Home Assistant dashboards are probably among the best ways to accomplish them.
This type of project really is best done with a color e-ink panel, as then the movie covers will show up properly, as a black and white panel just won’t display it right.
Just like the 3D printing project, this is all done with dashboards. Simply take and build a custom dashboard that pulls the now playing artwork from Plex or Jellyfin and displays it. Then, open that dashboard on your Pi to show on the E-Ink panel. It’s really as simple as that.
Today’s agenda display that pulls from calendar plus tasks
What tasks should you focus on today?

If you want to easily see your day’s agenda at a glance, then moving away from Home Assistant is actually best. Instead, there’s a project on GitHub called InkyPi that’s perfect for it.
InkyPi has a lot of different plugins, but the one I’m going to focus on here is the calendar plugin. You simply give it ICS calendar feeds, and then it builds the calendar to display your upcoming events.
This is a great way to see what event or task you have coming up next. However, if you want deeper integration with something like Todoist, Apple Reminders, or something else, you’re probably best off building your own solution using InkyPi as a starting point.
E-Ink displays have infinite uses around the house
Really, E-Ink displays are perfect for so many projects. While normal screens are great if you want fast refresh rates or deeper colors, E-Ink displays just melt away and feel more like paper than a typical screen.
So, if there’s a project you’ve been thinking of doing with your Raspberry Pi, consider using an E-Ink screen instead of a normal display. It could completely change the entire project for the better.