These 3D printing tricks changed how I think about my slicer
3D printers rely on a slicer to convert solid 3D models into a set of instructions that the printer can build, layer-by-layer. This is where you can customize various parameters that will decide the outcome of your print, but you can also make big changes to the print too.
Here are two tricks I used to improve some recent prints that I’ll be keeping in mind for the future.
I used Bambu Studio for this, but the same techniques should work the same in OrcaSlicer (and probably PrusaSlicer too).
Slice and combine models
No CAD software necessary

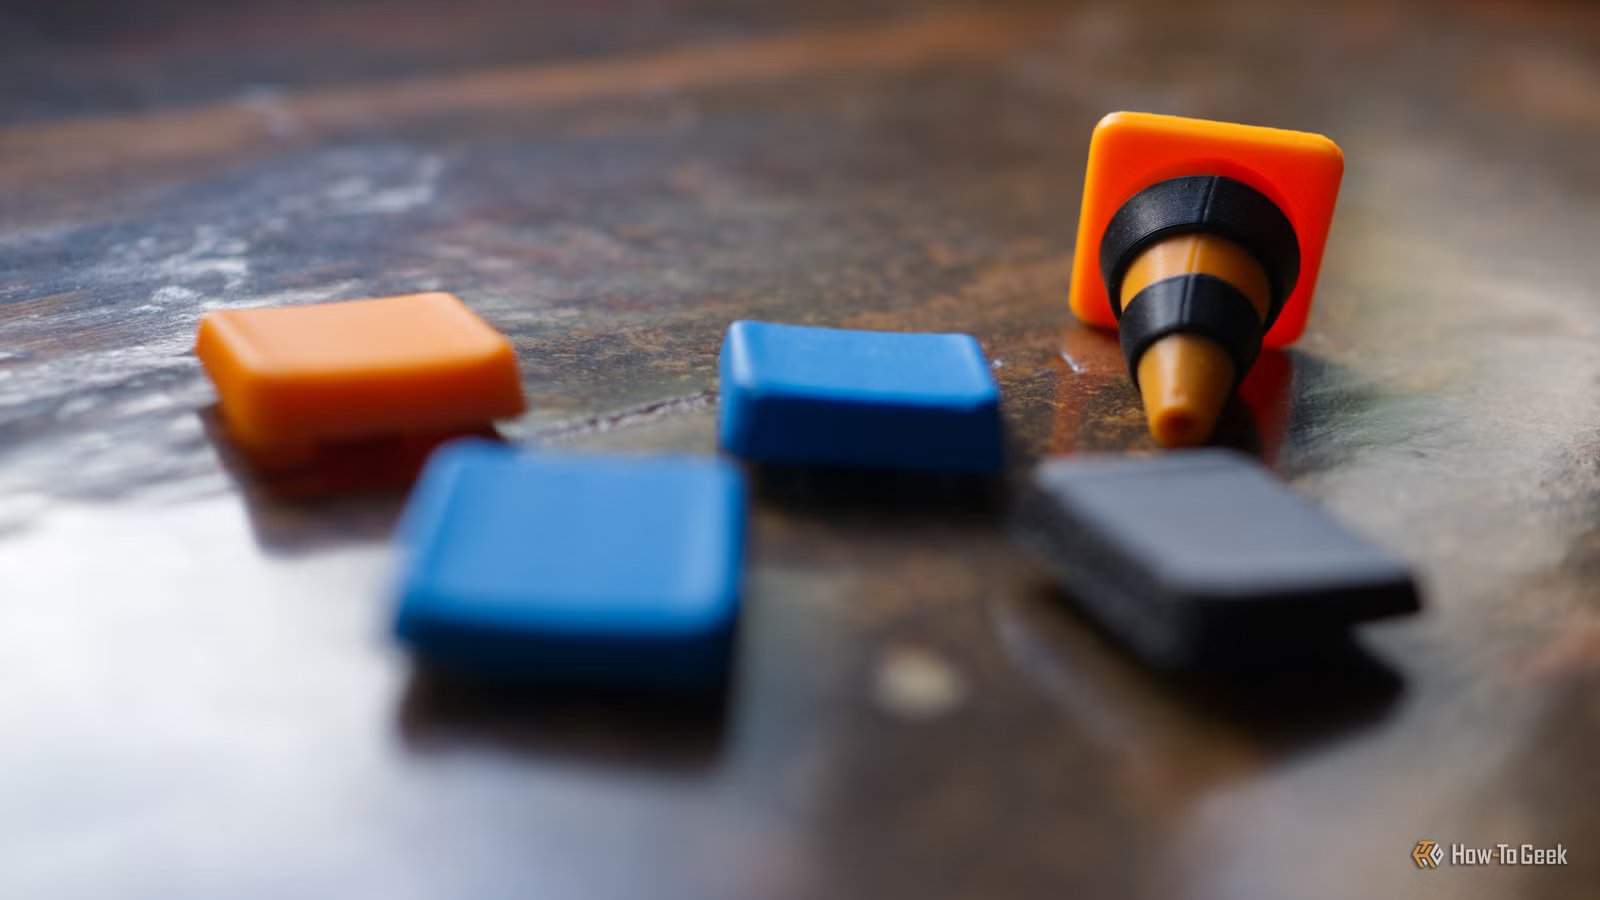
Last month I decided to print some keycaps for my mechanical keyboard (a low-profile Nuphy Air75 V2). I wanted to make it easier to spot the function keys I actually use by printing various colors to quickly differentiate buttons like Play/Pause and Mute from the rest.
While I was at it, I decided I also wanted to print a novelty keycap for the keyboard’s screenshot macro key. I’m always hitting this by mistake, so I wanted greater awareness of it with something bold that sticks out. It’s only been a few weeks, but this seems to have worked a treat.
After printing the first set of caps, which fit perfectly on my key switches, I printed a large traffic cone for the macro key. Unfortunately, the mount didn’t fit my switches even after I broke out the craft knife. Determined to make it work, I set about seeing if I could slice the mount off the first keycaps and attach it to the second without leaving the slicer.
First, I used the Cut tool in Bambu Studio to cut off the “bad” keycap mount and discard it. I then dragged my desired keycap file into Bambu Studio and chose to “Import geometry only” when prompted. I used the Cut tool again to cut off the “good” mount and discarded everything else.
I was now left with two separate pieces: the traffic cone keycap, and a separate mount. In order to get the placement correct, I right-clicked on both and chose “Center” so that they were perfectly aligned with one another. I then clicked on the mount and used the Move tool to move it down below the build plate.
At this point, the very top of the mount and the bottom of the traffic cone were touching, so I made sure both items were selected and used the Mesh Boolean tool to create a “Union” between the two by clicking “Execute.” At this point, the two pieces were fused together.
A better idea would have been to use the Assemble tool in “Face and face assembly” mode. Select the two faces you want to join, then click “Center coincidence” to make them touch. From here you can use the Mesh Boolean “Union” tool to join them as one.
Subtract geometry to leave your mark
Use SVGs to cut into objects

Last week I decided it was time to have some fun with my camera so I printed some bokeh shape filters and an adapter. These allow you to turn out-of-focus background highlights into shapes by controlling how light enters the lens. It works particularly well with fairy lights, and the project included filters for hearts, stars, and pawprints.
On top of this, also present was a solid filter with no holes in it. I thought I’d have some fun and try creating my own, so I grabbed the How-To Geek logo at the top of this page (which is an SVG vector image file) and dragged it into Bambu Studio.
From here, I grabbed the “HTG” part of the logo and deleted everything else. I then positioned the logo so that it was intersecting with the solid filter, selected both objects, and used the Mesh Boolean tool to “Subtract” the logo from the filter. I just had to make sure that the objects were in the correct order.

I was left with a filter that had a logo punched out of it. I printed it, and the results speak for themselves.
No need to rely on CAD software for everything
You can use the Mesh Boolean tool to fuse various objects together, as long as you can get the geometry into your slicer. You can also use the same tool to subtract geometry, creating large holes or small etchings. This allows you to make changes to models without having access to CAD files, the necessary apps, and the knowledge on how to do so.
- Build Volume
-
256x256x256mm
- Printing Speed
-
600mm/s
The Bambu Labs P2S 3D printer is ready to go out of the box and can have you printing within 15 minutes. It features up to 20-color printing with the AMS unit, has an upgraded built-in camera for remote monitoring and time lapses, and has an enclosed body for printing even high-temperature filament.
There are many more things that your slicer can do, why not start by mastering the basic Bambu Studio tool set. You can then learn how to use features like fuzzy skin to hide layer lines and hide seams for cleaner prints.